First Ride FAQ
As much as possible, from pictures and discussion about you and your horse(s), I will send your demo or purchased saddle ready for your first ride. All you need to do is, set up your stirrups, add a breast collar if you have one and go for a ride. Sounds simple, but here are a few answers to frequently asked questions to help a bit more.
Will a GHOST fit every horse?
While the Ghost has a design and adjustability to allow it to be properly fitted to almost any conformation, no saddle will fit every horse and rider. Some horses' movement and/or conformation may be better suited to another style saddle or a treed saddle.
A GHOST saddle can very often be used on several horses. However, since small adjustments are usually made to get a custom fit for each individual horse, you may need to make a small adjustment or two when switching between horses.
How do I run the stirrup straps?
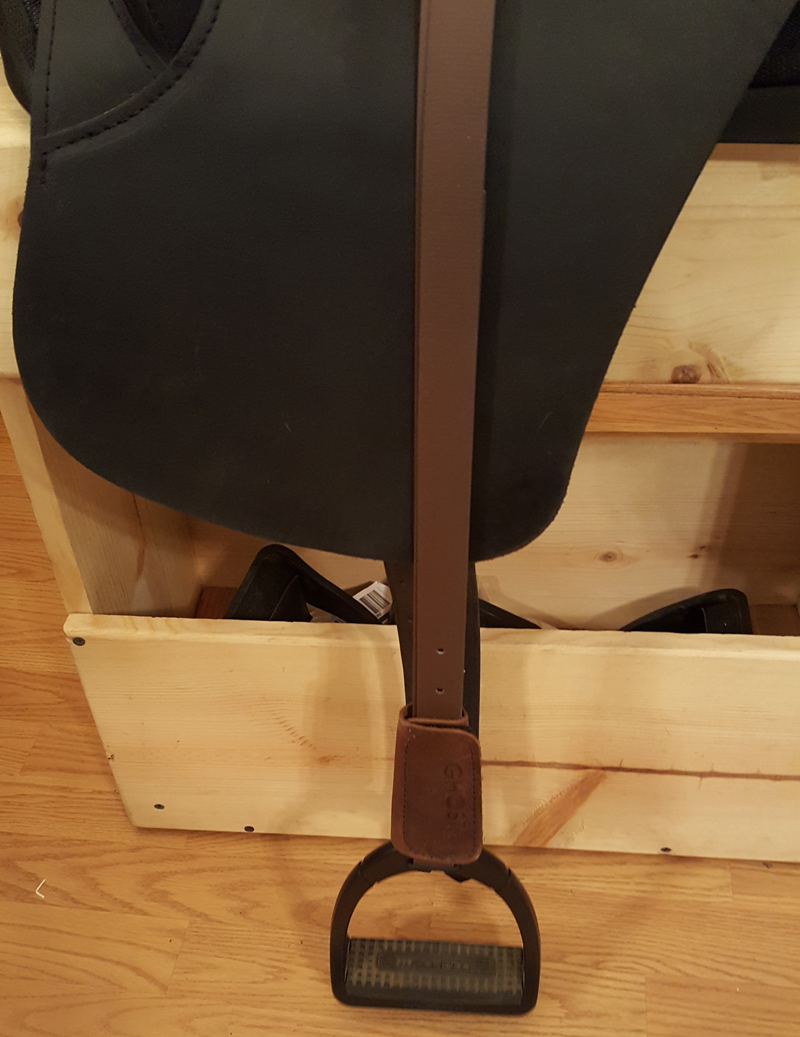
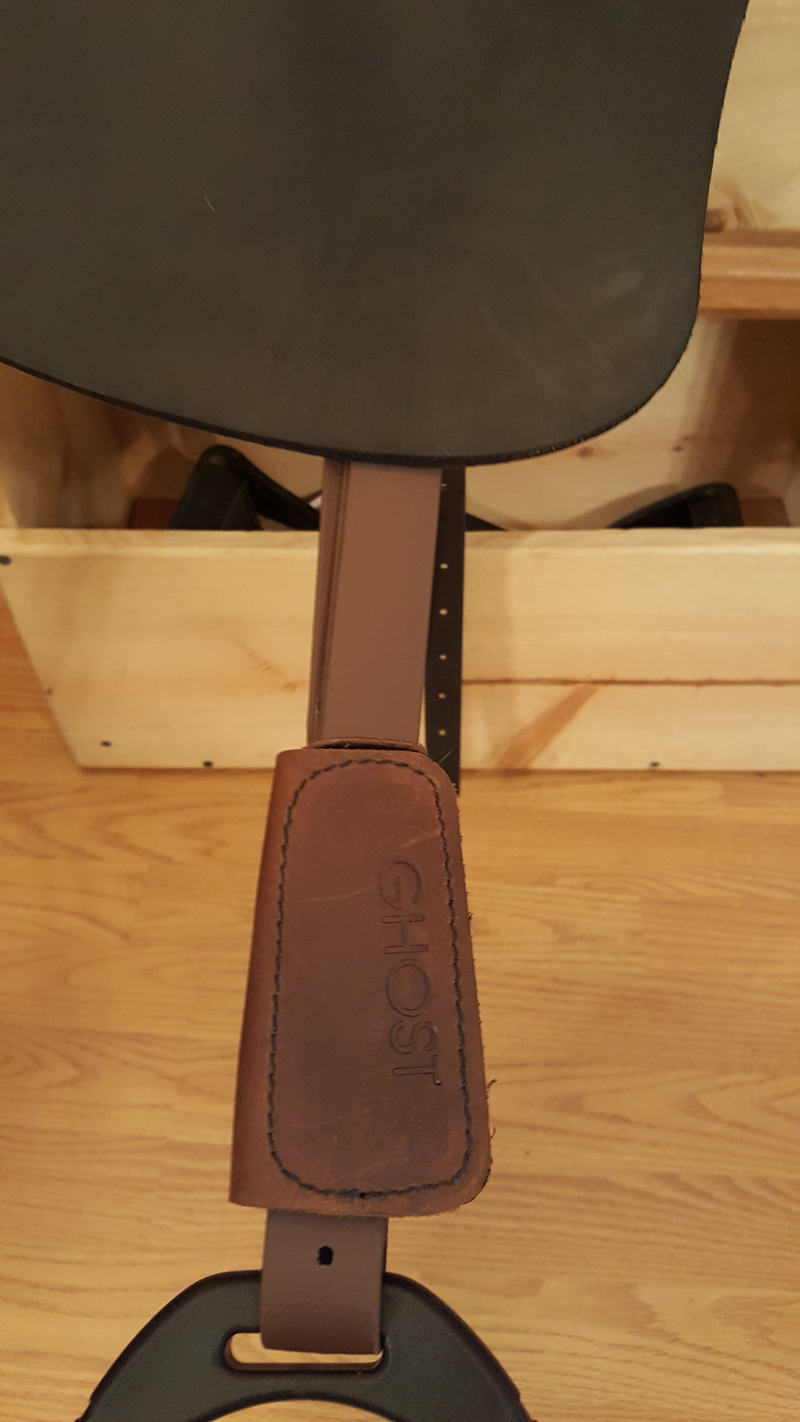
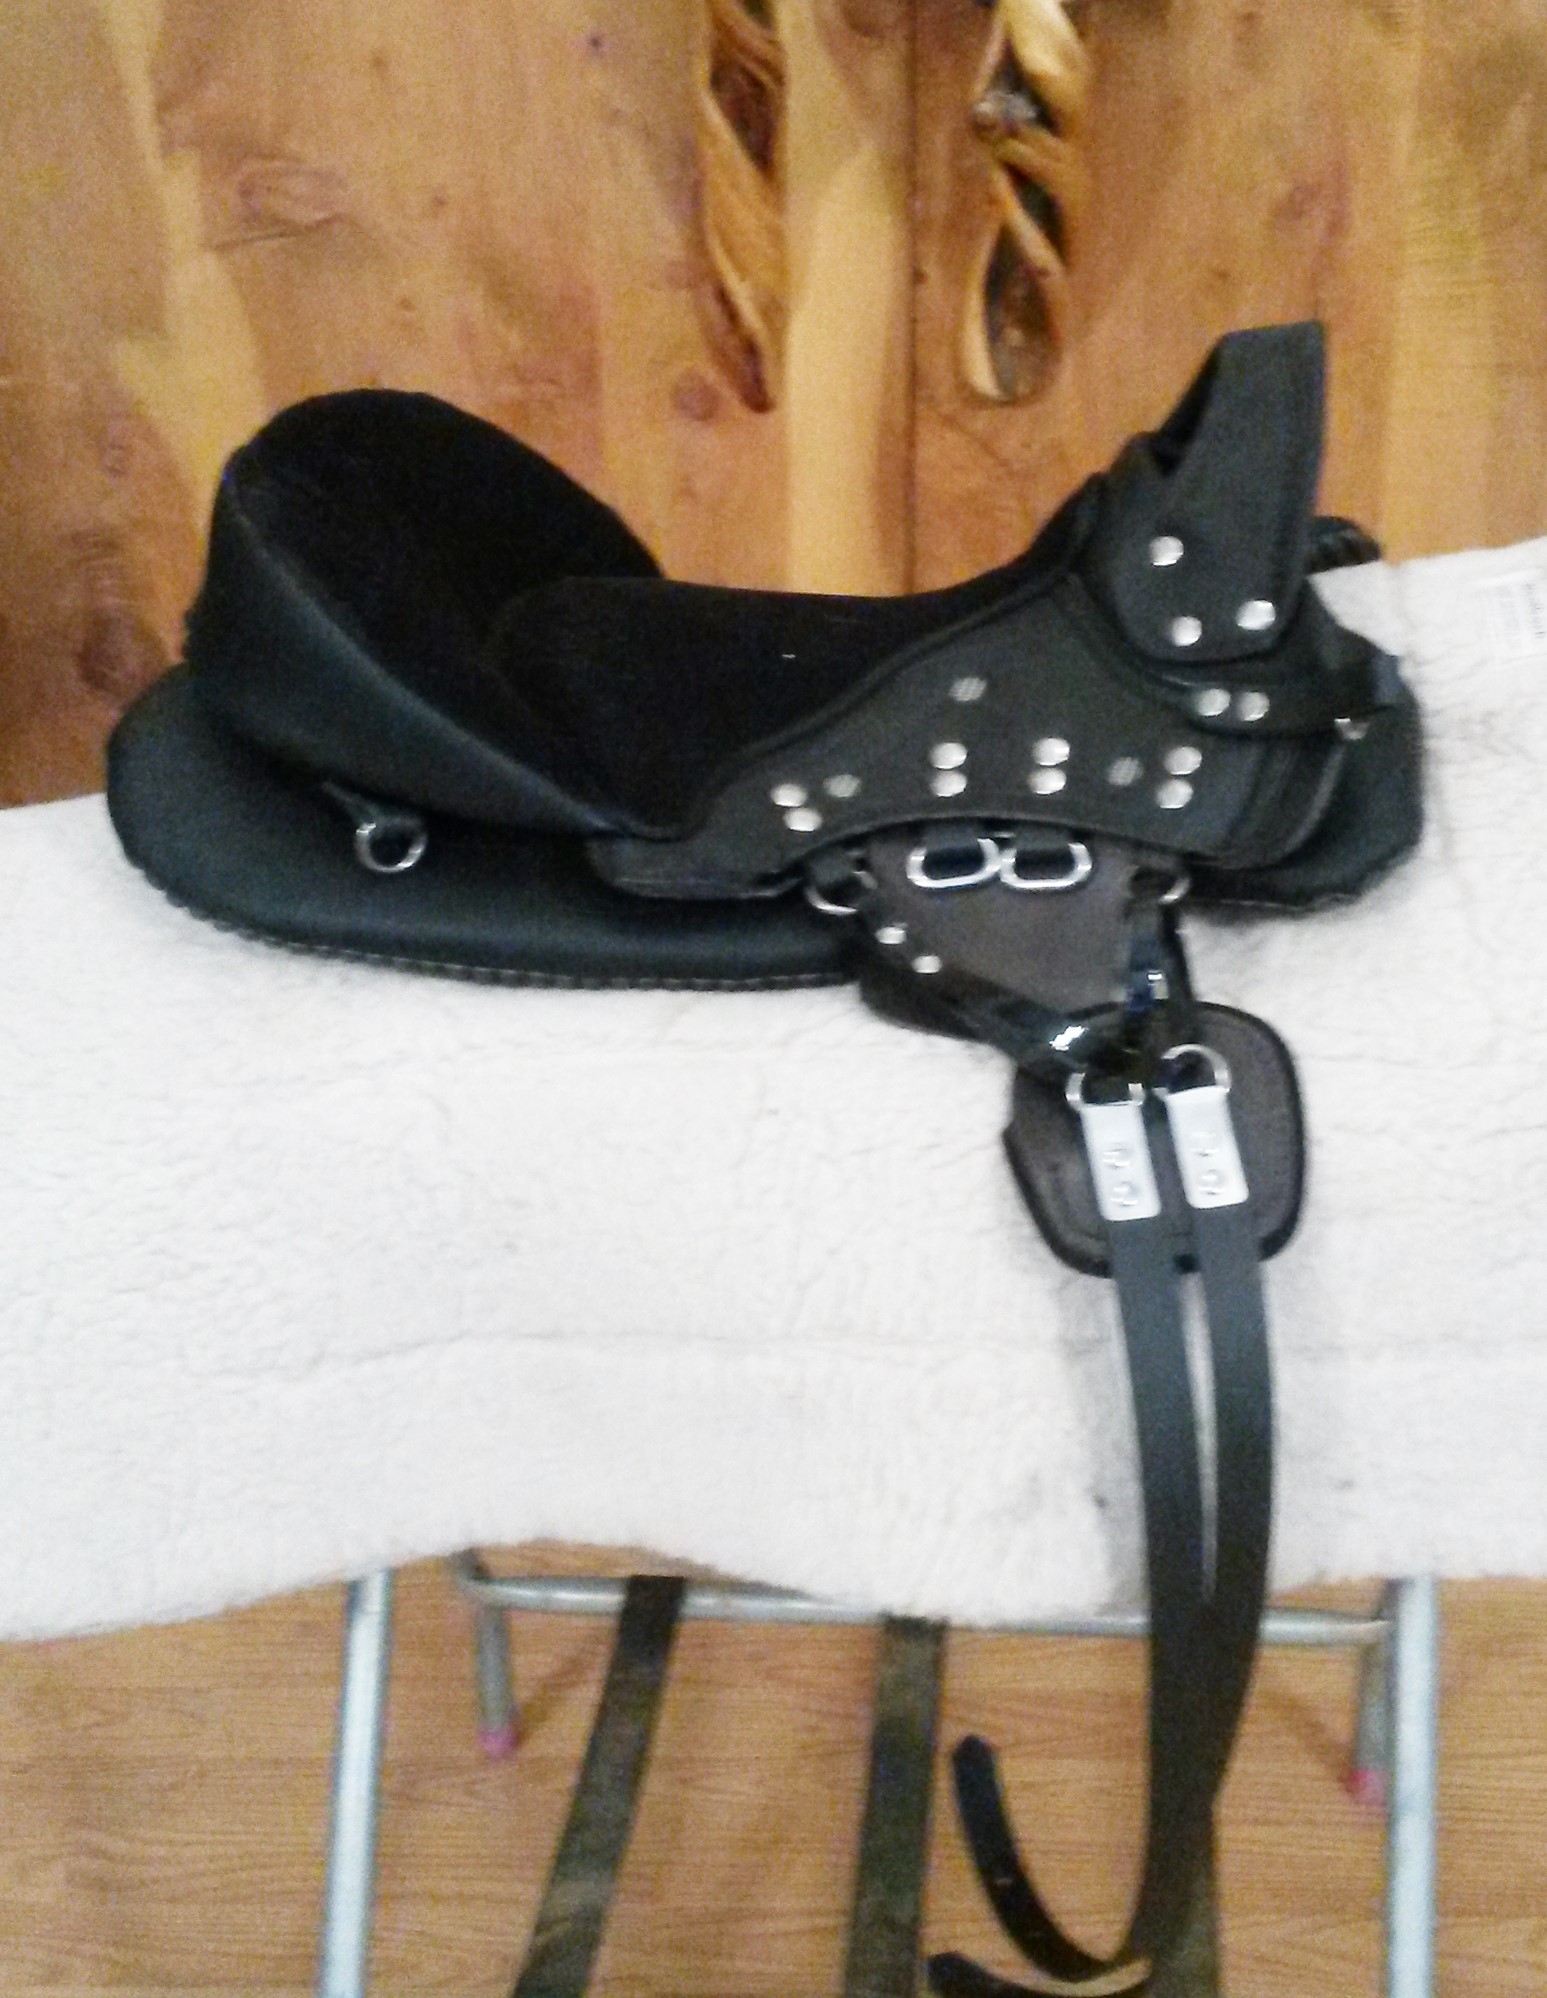
This question arises more with the long flap models. There's a slit for the stirrup straps (unless ordered without) but you don't have to use it. I personally run my stirrup completely under the flap to avoid any chance of rubbing during a long endurance ride. I also suggest running the strap buckles at the bottom and using the straps keepers to cover the buckle and control the extra length. Note: if you decide to purchase the saddle, you can cut the strap length with scissors.
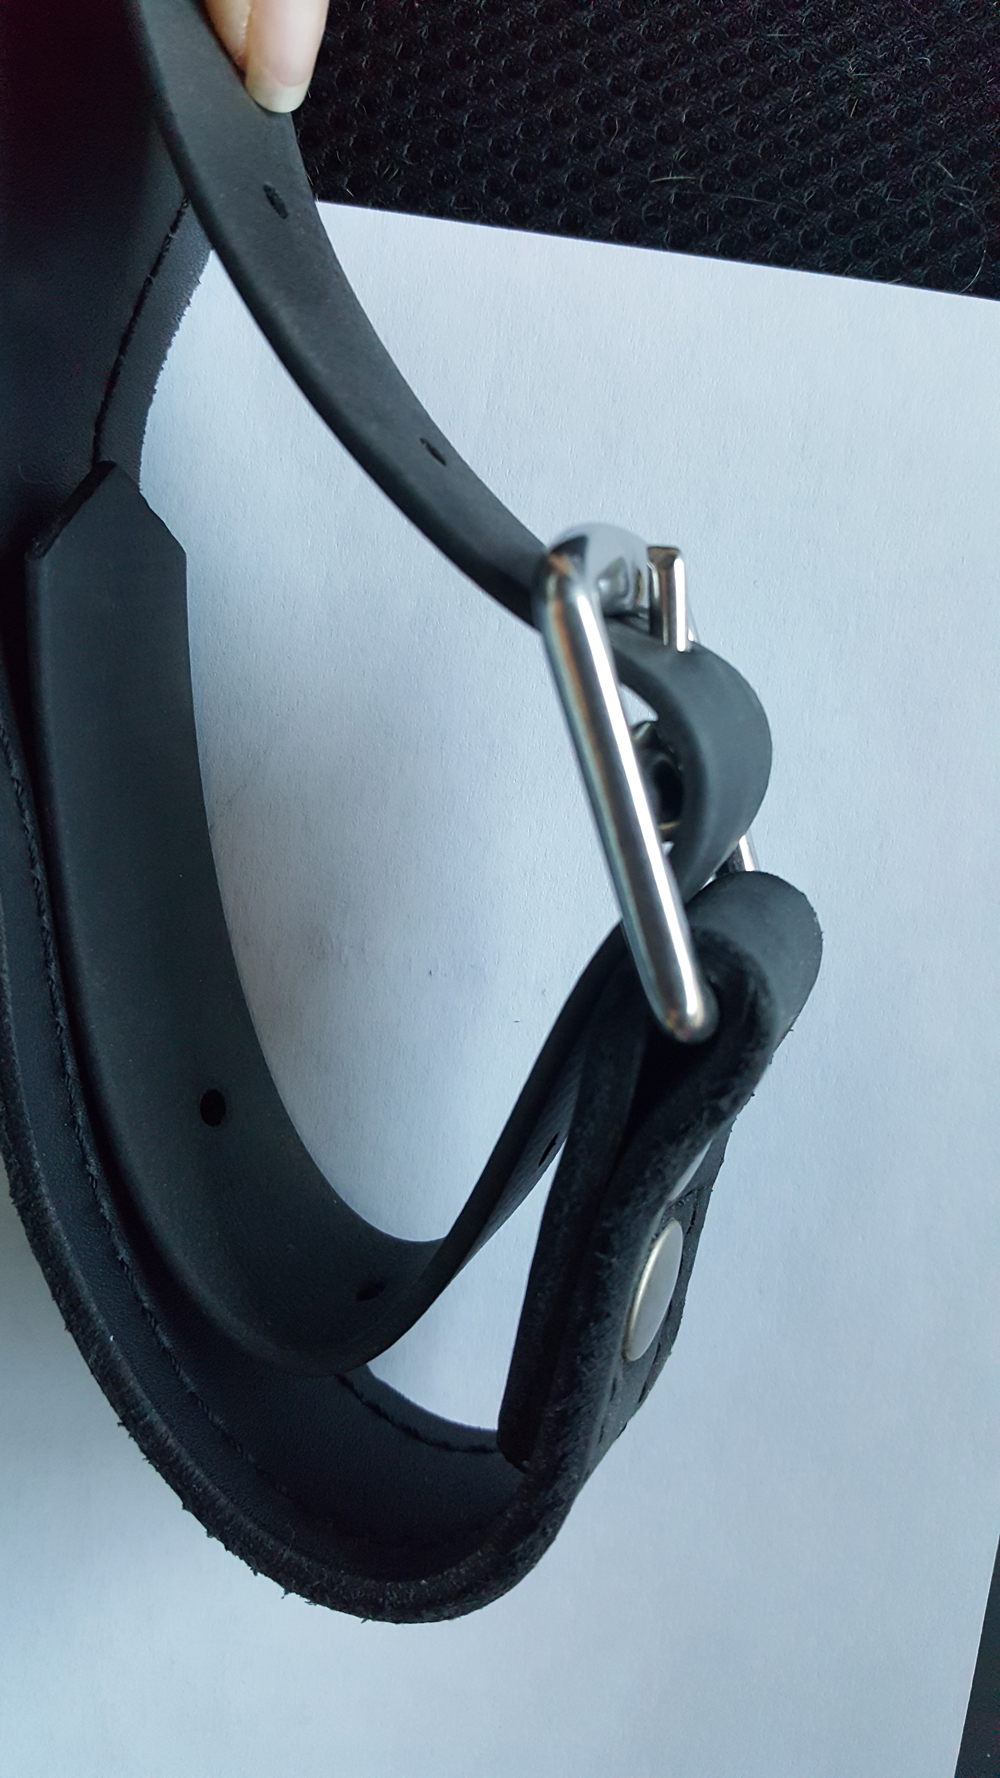
Tuck the stirrup strap through the ring from underneath, with the buckle tongue pointing away from you. Pull the end down toward the buckle and run throughyour stirrup from front to back.Buckle, then tuck the end back through the buckle and tidy up the end.
Wrap the keeper around the buckle with Ghost logo toward you and the wider part down.
To use the slit, after running through the ring, pull both ends through the slit and repeat the above.
 |
 |
 |
| Run the buckle at the bottom and put the end of the strap back through the buckle. |
You can use the slit to run your straps on top of the flap. |
Or run below the flap for a smooth line with no possibility of rubbing. |
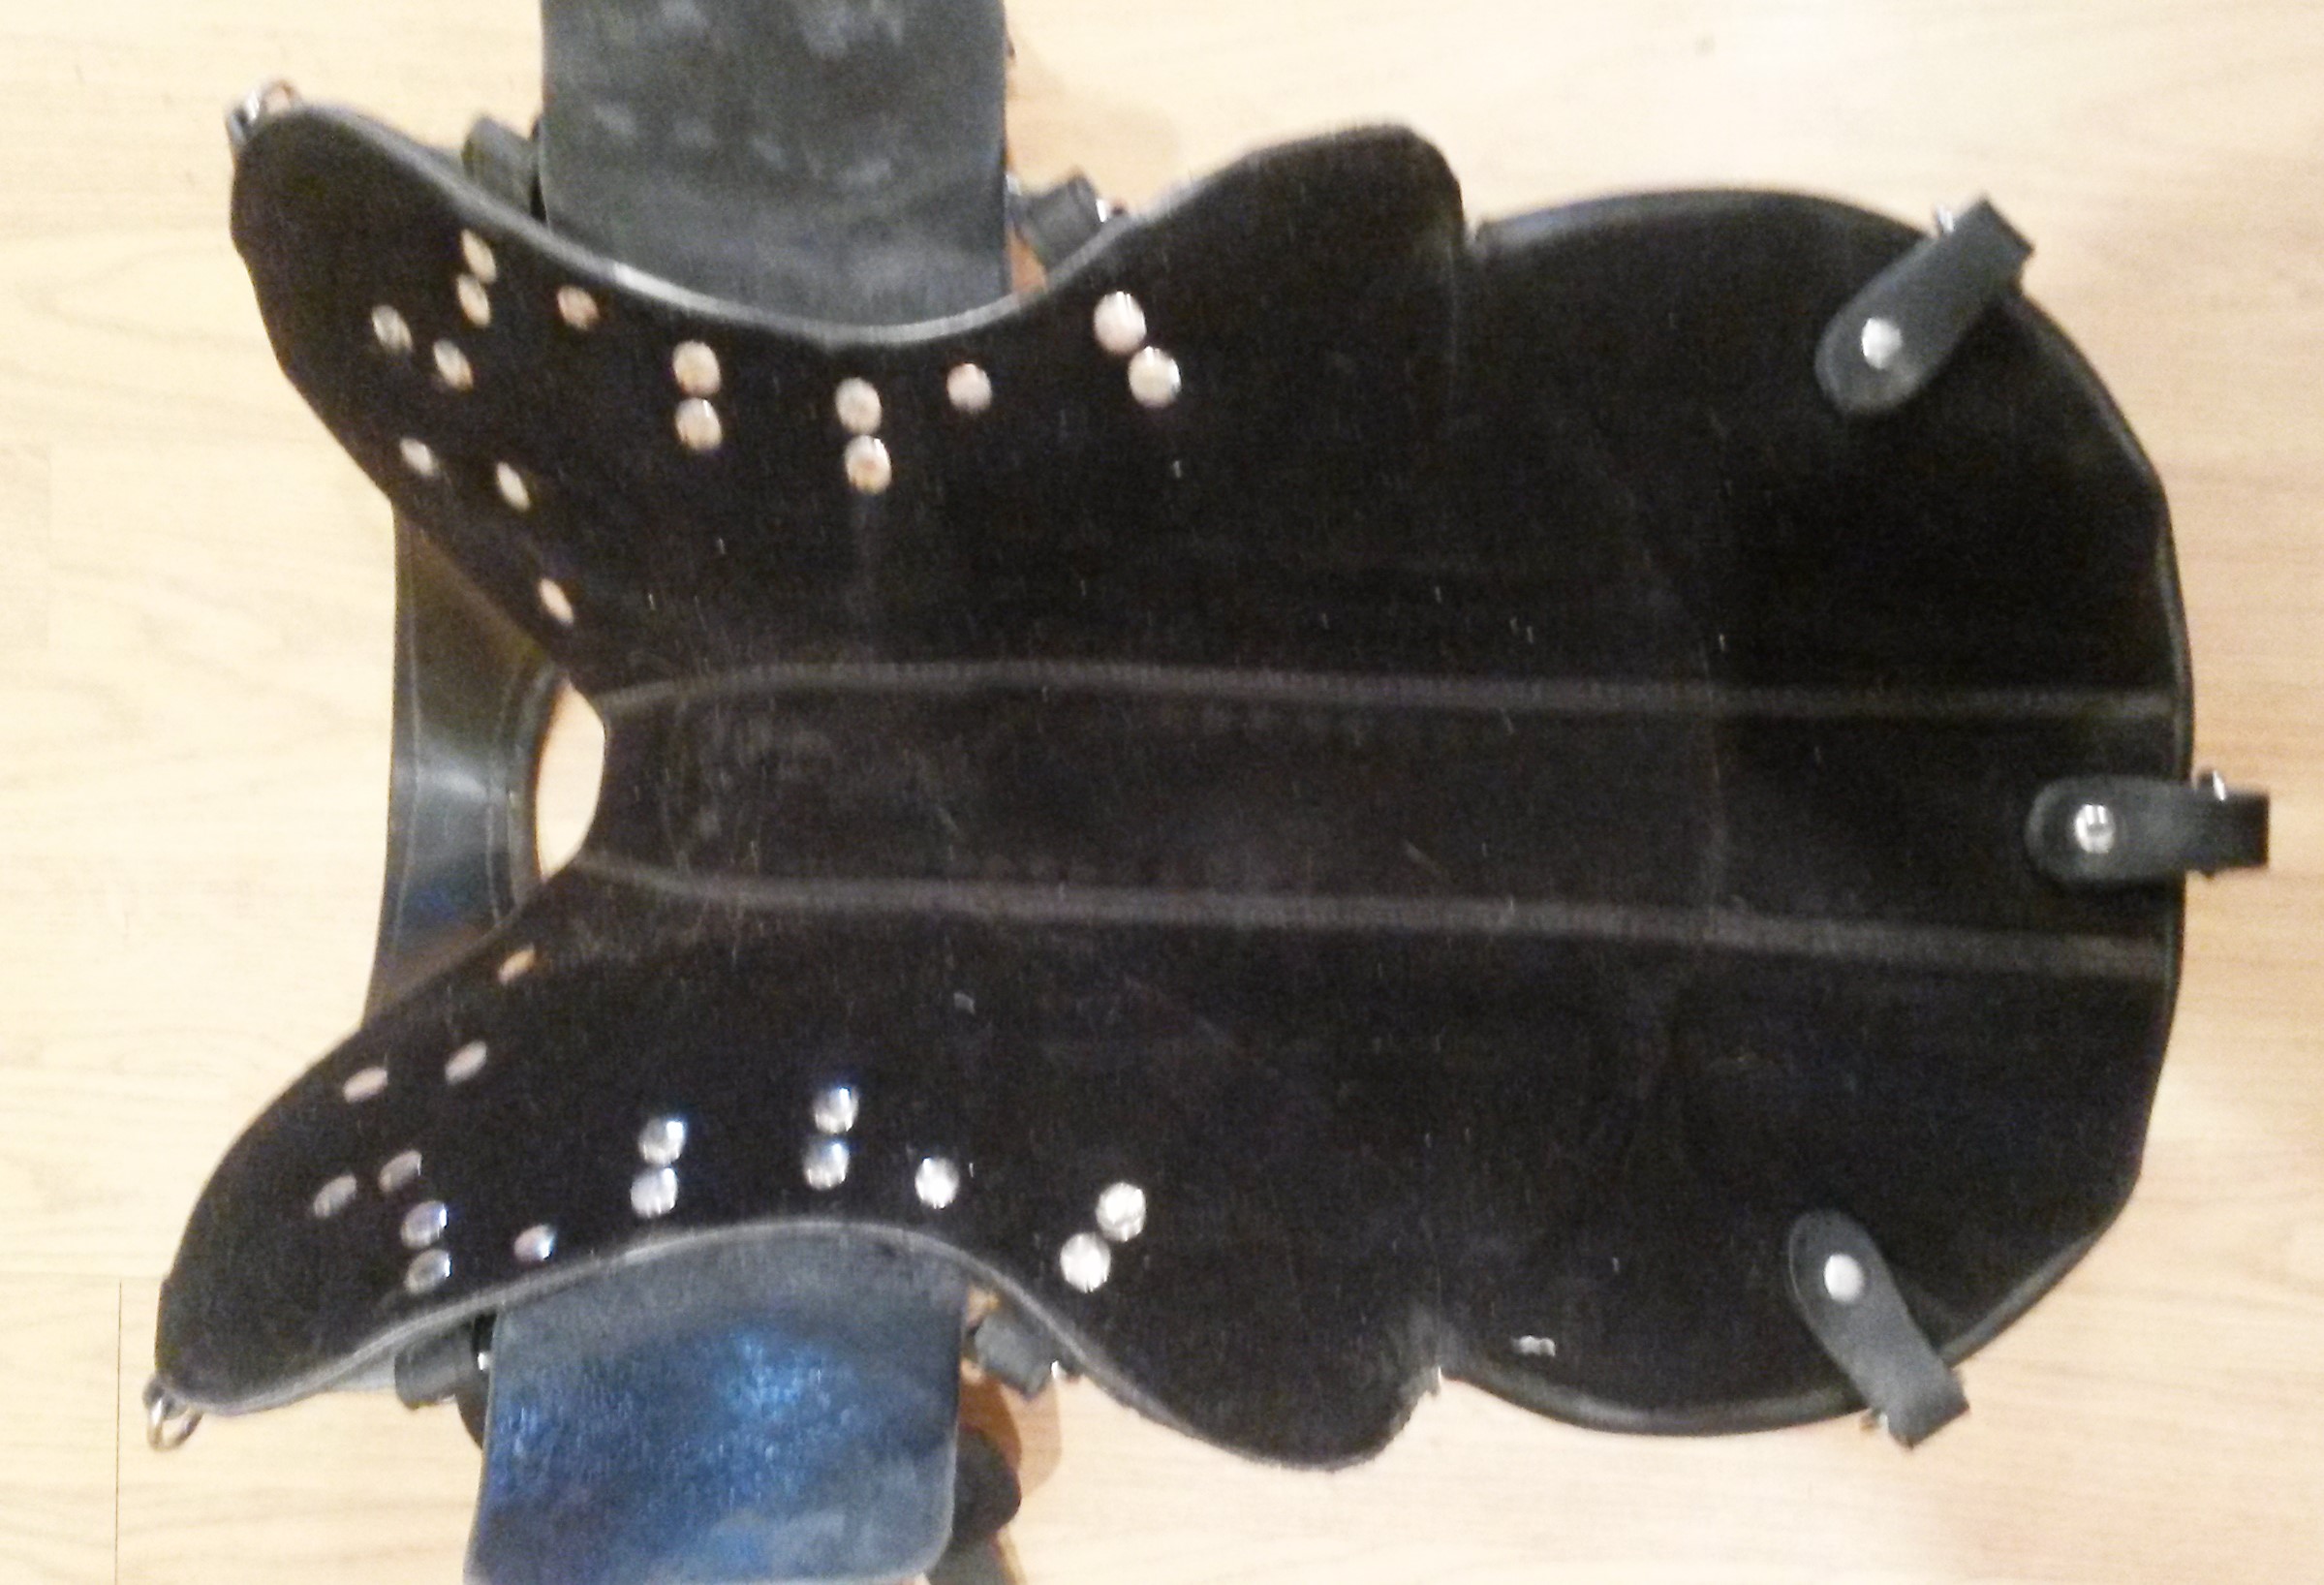
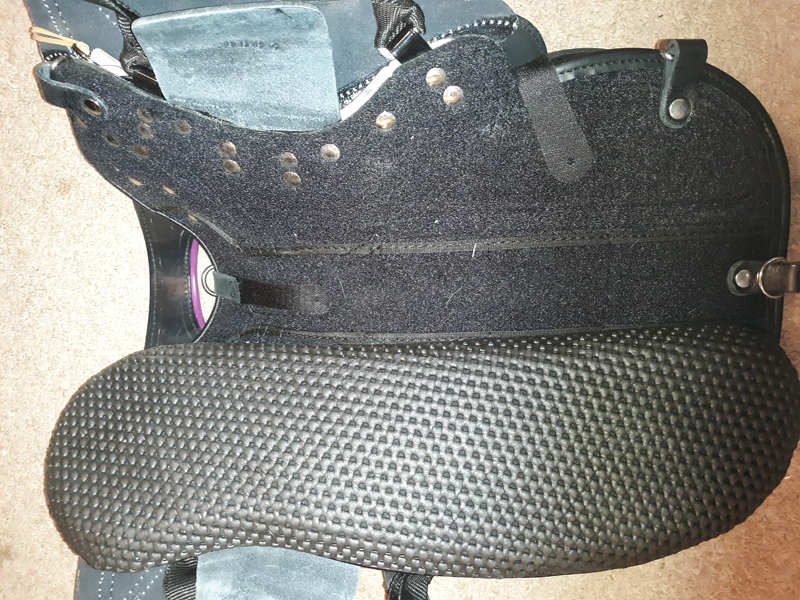
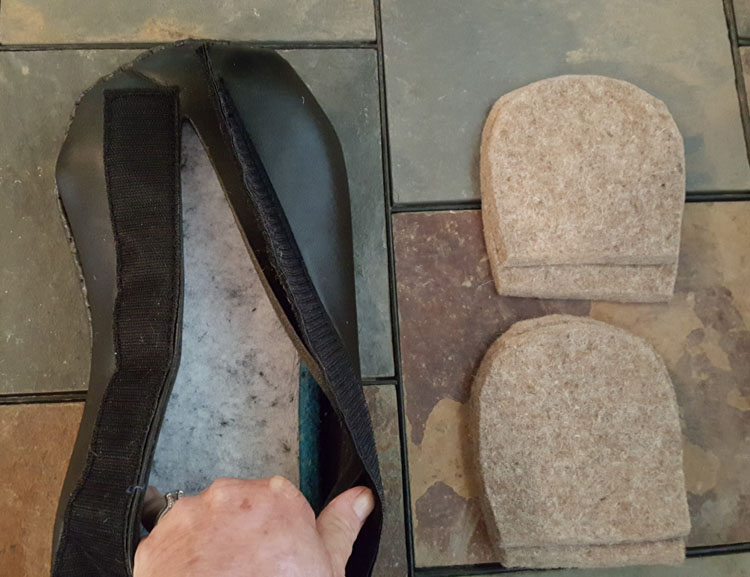
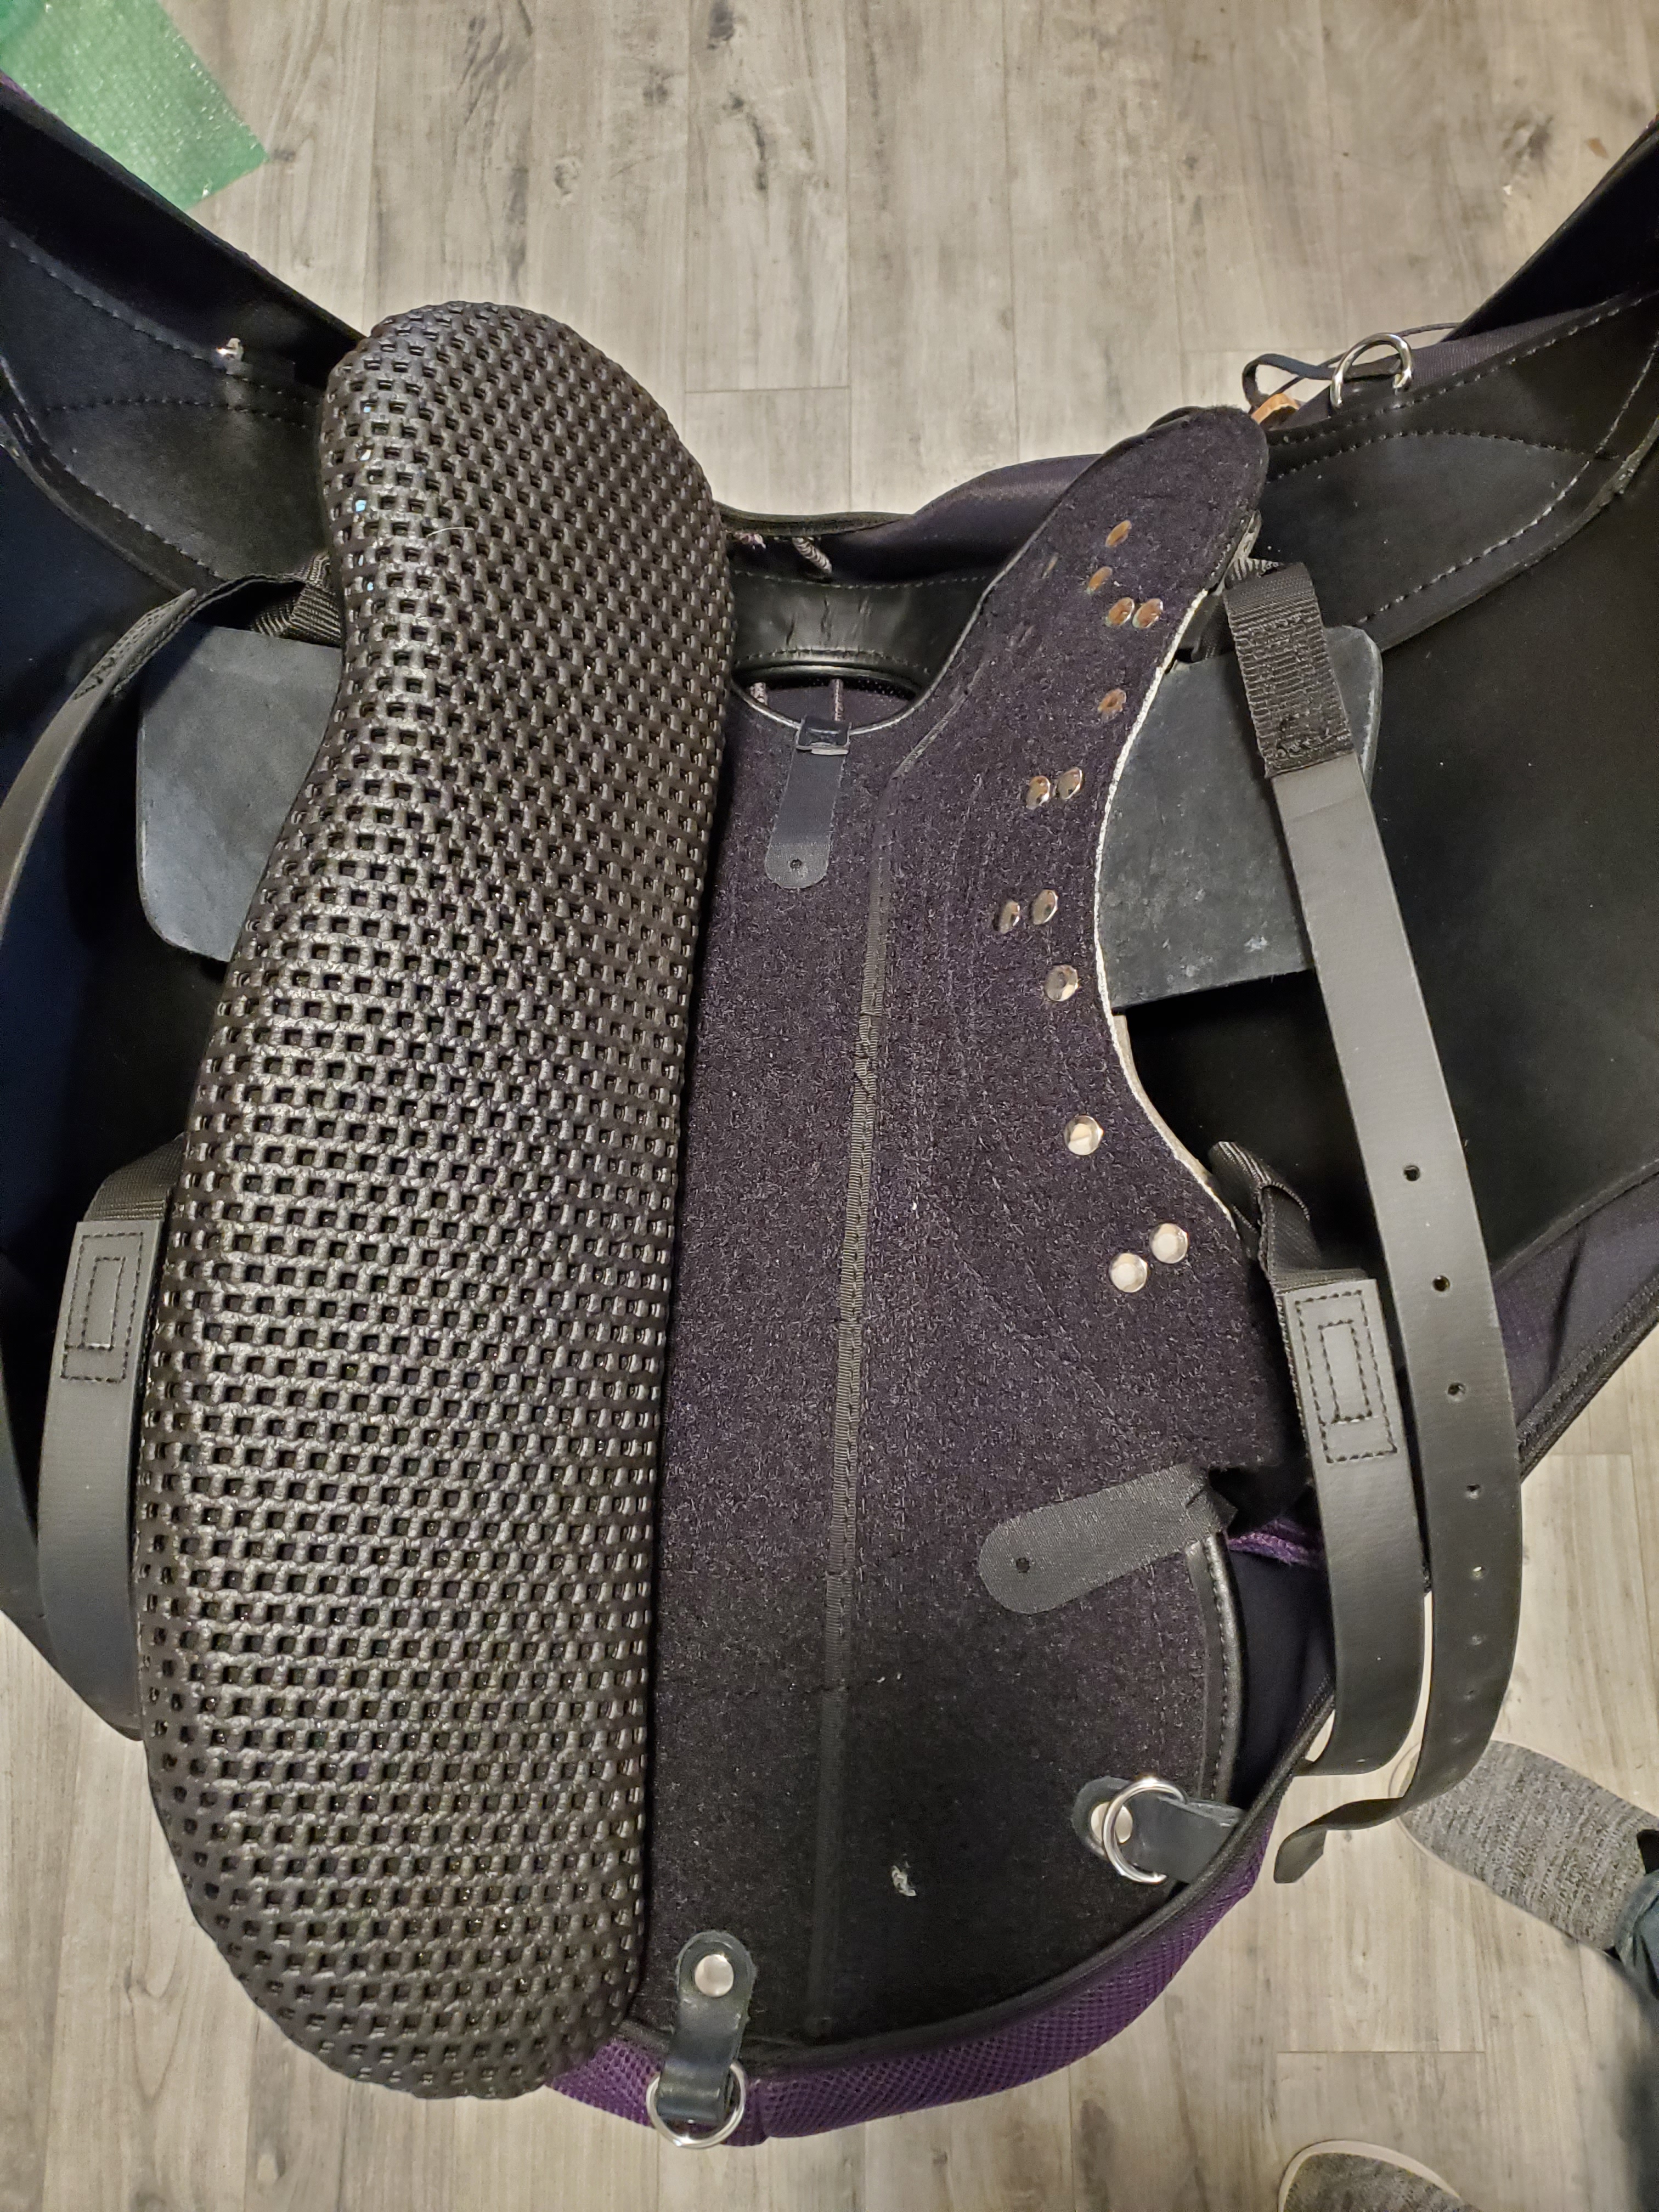
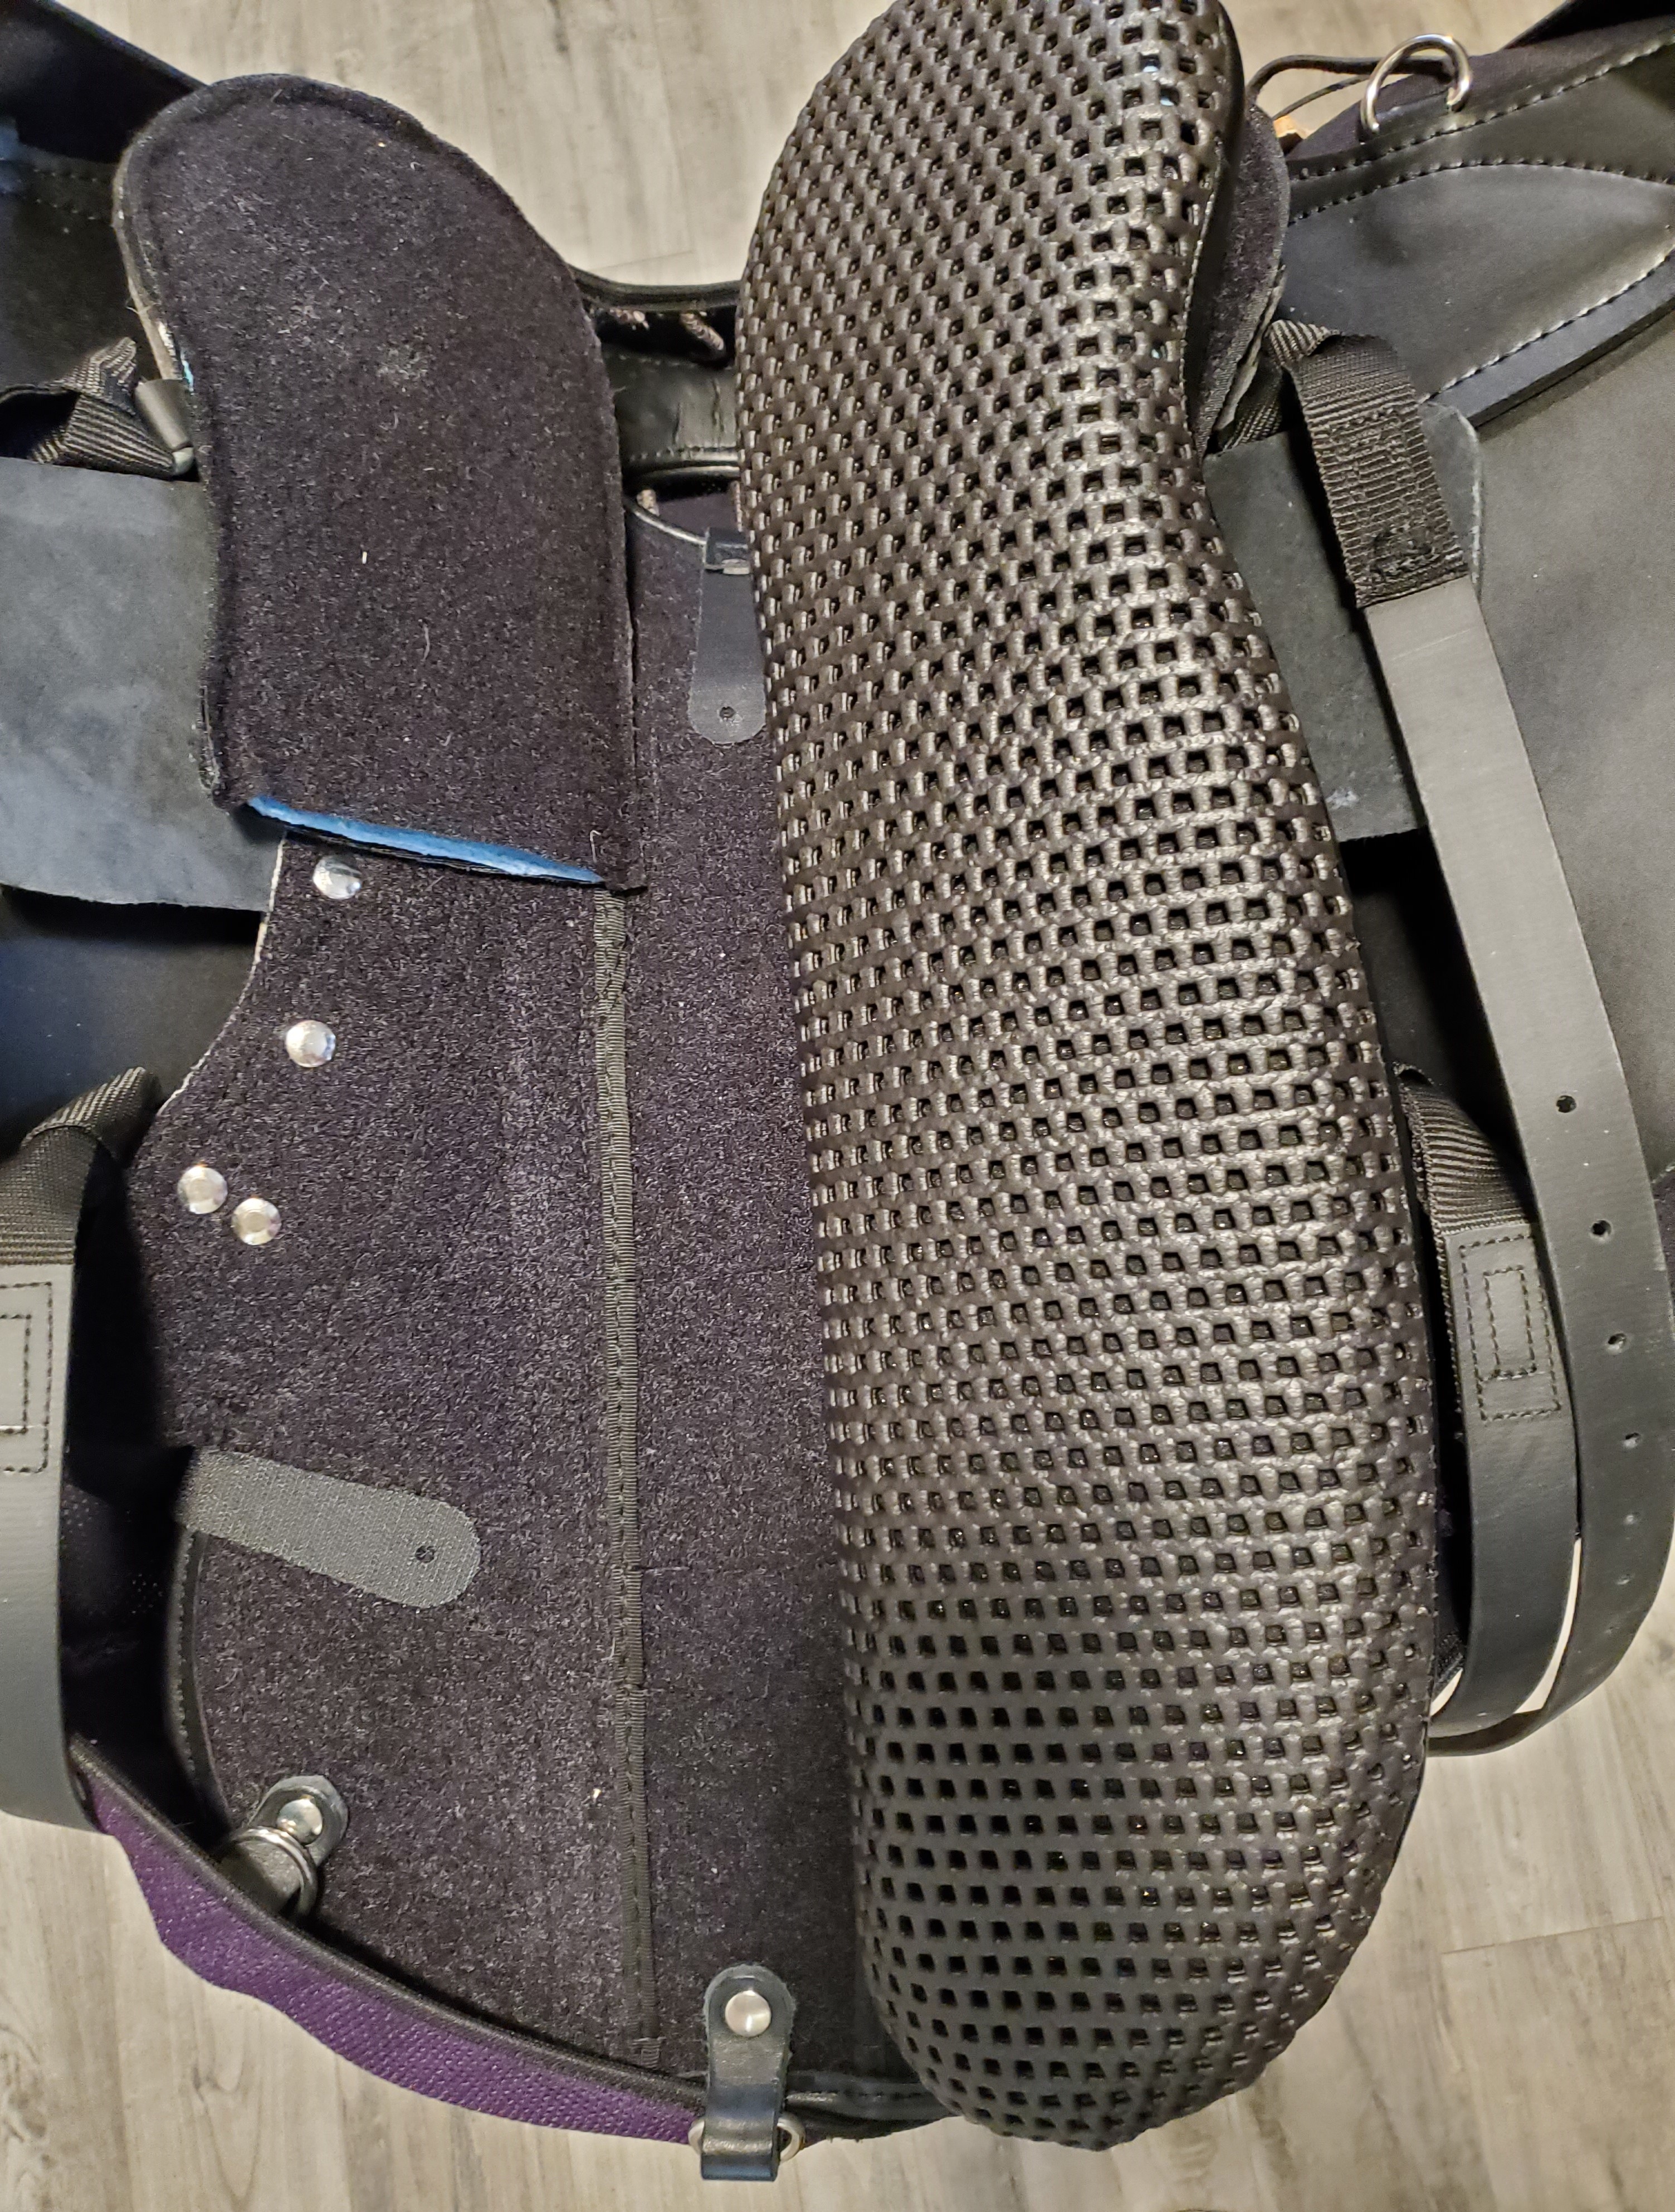
How do I position the panels?
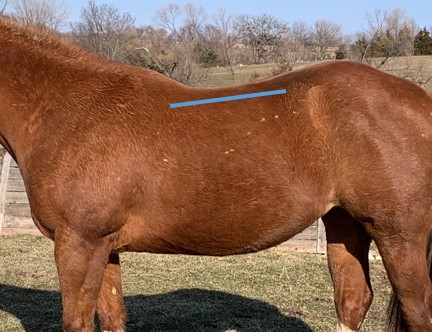
I generally align the panels with the stitch lines on the bottom of the base, about 2 inches or 5cm apart, flaring away at the front. The purpose of the panels is to ensure the base doesn't contact the spine. We've had different thicknesses of panel foam over time and the thicker material allows the panels to be a little wider. For lightweight riders and horses without prominent spines, there are fewer concerns, but if you're heavier or your horse has a prominent spine, if you've either widened the panels overall or in the front or back only, there's a quick and easy test to make sure you haven't gone too far.
Take some baling twine and tie several double knots along the length, place the twine between the panels above the pad, ride around for a bit to make sure the foams have settled and make sure the knots can be pulled easily through. If so, you may be able to ride with a standard pad w/o inserts. If not, you definitely need a pad that provides additional spine clearance and wither relief. I do like pads with some structure to provide additional cushion, breathability, and support.
I find it easiest to place the saddle upsidedown over a pad on top of a saddle stand with the cantle nearest me. Then line up the panels as desired starting from the back and pressing down toward the front. I check the front to back when sitting in the saddle.
You can lower the front of the saddle by widening the panels at the front and vice versa. When narrowing, make sure you're not too close to the spinal processes by placing the saddle on the horse w/o a pad and feeling along the wither and back through the gullet.
 |
 |
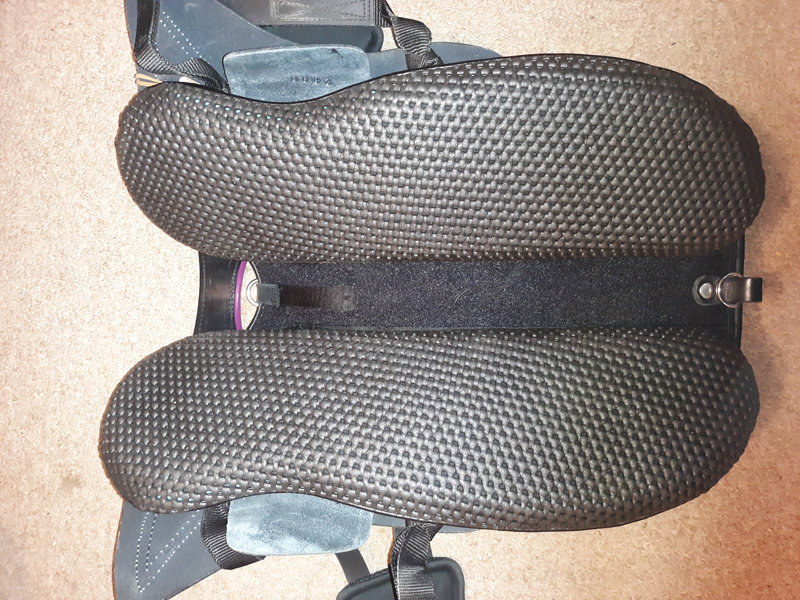 |
| Base, upside down, no panels | one panel in place, lined up along stitch line |
both panels in place |
Here is a great video -
How do I know when to shim?
The saddle base is designed with a bit of curvature - this is what allows Ghost to have more twist than many treeless saddles and also to have a good chance at working for high/narrow withered horses. But there are some horses with straighter backs, less flare at the shoulder, or might be higher in the loins than where the front of the saddle wants to sit (which is dependent upon horse shape and motion and it's usually best to work with this stability rather than against it).
If you sent me pictures of your horse I might have already inserted shims in the front of the panels or sent them along just in case. Your best, first step is to go for a ride and see what the horse and your balance tell you. There will be some settling in for the first half hour. Pay attention to the stability of the saddle (remember to check girth tightness after you mount) and particularly your front/back balance. If you feel tipped forward or are rocking forward with horse motion, then you likely need shims. If the tipped feeling is minor, an easier solution might be a pommel bolster.
If you'd like to have a good idea of whether you need shims before riding, then set the saddle on the horse, a bit forward, then wiggle back until it stops naturally. With the horse standing square, put a bit of pressure in the seat with one hand and then with the other, see if a little pressure on the pommel makes it obviously rock forward. Or look for a gap between the front of the panel and the horse. A small gap, like 1/4" or less I don't worry about. But if there's a 1/2" gap or more, definitely use the front shims. If the gap is much larger, I also carry shims for the pad. You can also get creative with materials in your barn if it's an emergency and you need to ride!
Endurance riders tending to trot for extended periods are more likely to notice the need for shims. Casual riders, particularly on gaited horses are less likely to need them as they're naturally distributing weight more evenly across the saddle.
Here is a link to all the balancing options - Badlands Equine. Rider Balancing Aids
|
The panel shims are two 1/4" thick shims, one slightly shorter to make a bevel. Open the panel velcro, |
|
|
|
If you are using the closed panels, |
 |
|
 |
 |
1. Remove one panel |
 |
| Regardless of a horse's overall structure, they may be downhill in the area the saddle sits so rider balancing shims may be necessary. |
How do I change seats?
Here's a YouTube video on removing/replacing the seat, either for fun or to change seat styles. I do have another hint to not becoming frustrated with velco wanting to grip before you're ready - place a large plastic bag between the seat and base while you're aligning the front of the seat, then slip out as you carefully press the seat into the base. New! The later seats have additional velcro tabs just behind the flap that go under the base so you might need to remove or pull up the back of the panels to release these before pulling the seat off.
I set the saddle on a saddle stand, behind the saddle when aligning the seat to the base. After I've aligned the seat, I turn the saddle over to tighten the mid-seat velcro tabs and re-position the panels.
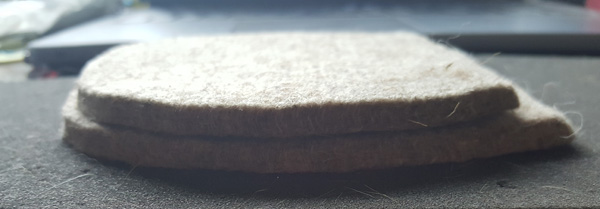
What if I'm between seat sizes?
The 17" (Piccolo) seat runs pretty true to size (the Roma might feel a tad small due to the thigh block angle), but the 18" (Standard) runs a bit large. I'm using 17"/18" english seat labels for ease of comparison, but the saddles are made based upon cm so not exact. If the 18" makes best sense for you, but might be large, we have a couple options - a Ghost seat diminisher or seat spacers that I make from wool felt. Mine come in 1/4" layers and can be used with one, two, or three for custom fitting in 1/4" increments.
They are placed under the seat at the cantle, behind the rider, so only have the effect of reducing seat length, not depth. Actually, they can have a slight effect in making the seat feel deeper if you like to feel the cantle behind you.
|
Ghost seat diminisher |
|
|
My felt spacers |
|
How do I mount with a treeless saddle?
The same rules apply to mounting treed vs treeless, but many people haven't been taught how best to mount any saddle. Here's a quick video from Ghost on mounting - https://www.facebook.com/ghostsaddle/videos/1981624458763858/. The same rules (hold cantle and mane, not pommel, stand close to horse, mount quickly and use a mounting aid when possible) really apply when mounting a treed saddle but most people don't realize this unless their horse complains about the pain of pulling a hard saddle into the wither area. Lateral stability for mounting with a treeless saddle varies from horse to horse and it's always best to start carefully to find out how stable the saddle is for you and your horse. You may find you need to tighten the girth one notch tighter than normal if your horse is agreeable and then the saddle settles with a not-to-tight feeling for the horse. Some people need to use a mounting aid and then tighten the girth once mounted. Just be aware of your horse and what works for him.
The saddle seems perched, will it settle when I ride?
Yes, the saddle doesn't weigh enough to settle without a rider in place. It will settle as soon as you sit and additionally over the first few rides as the leather breaks in, the foams conform to your weight and the horse's shape and motion. Keeping this in mind, it is always wise to check your girth before and after mounting. You are likely to need to tighten one notch tighter compared to a treed saddle. Always mount from a block or terrain until you have tested the stability of the saddle on any horse your ride. Another note - you cannot determine fit without the saddle having been ridden and somewhat conformed to the horse's back. There is very little chance the saddle can bridge with an adult rider and a normal horse back, so don't judge bridging without the rider in place! For horses with more curvature to their backs, we sometimes remove the "formo", a thin, stiff layer inside the panel.
What does "rigid pommel" mean?
Until about 2 years ago, the Ghost pommel was fairly flexible. This worked fine for horses with a shoulder flare but could be an issue for narrow or downhill horses. So a 1mm metal plate was added to the pommel arch to keep it stiffer longer while still allowing flexibility for broader horses. When the western model came out they used a 2mm metal arch in the pommel since people would inevitably carry, lean on, or (hopefully not) use the horn for mounting. The thicker metal was a great option for some of those narrow horses as well as for endurance riders who are in a more forward seat most of the time. It is not truly solid like a BMSS and will still widen with use on very broad horses or can be manually widened to accomodate super broad horses. For most horses it works very well to improve stability in pommel shape for a longer time, especially in harder use situations. So as of late 2018/2019 almost all of the demo saddles have been ordered with the 2mm pommel. We can order with 1mm if you have a broad horse with a lot of shoulder action especially if the saddle sits forward, but the 2mm (rigid) pommel is now the default.
What is the difference between Puro/Cavallin rigging and original sliding V rigging?
The sliding V is original to Ghost saddles and a wonderful option for horses with a lot of motion in the barrel, the rigging can automatically adjust to the horse and move with the horse through all gaits. The Cavallin rigging was introduced with the Puro endurance saddle and quickly became a favorite of many people for several reasons. Many have found it to be more stable, both front to back and side to side although that does vary with horse conformation/motion and a couple have found the opposite! It is smoother/slimmer under the leg and less complicated. You can still adjust the girth position to the saddle position by using different holes of the billet straps. Some people have also seen less flopping when longing. I will always have original rigging available but will probably preferentially order the Puro rigging for demo saddles. If you have a strong preference, please let me know for your demo saddle. Another point - I would always recommend the Cavallin rigging with the Italy, Lipica, and Flamenco as it's less bulky between the double flaps.
 |
 |
| Sliding V rigging | Cavallin/Puro rigging |
How do I align the Puro/Cavallin rigging?
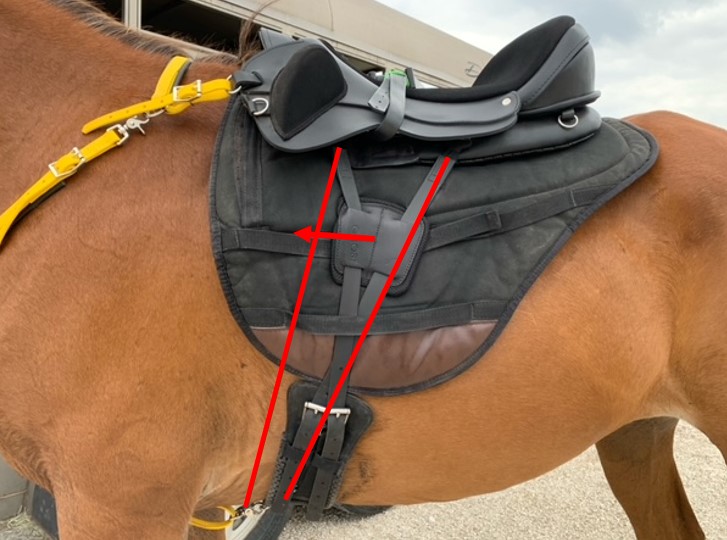
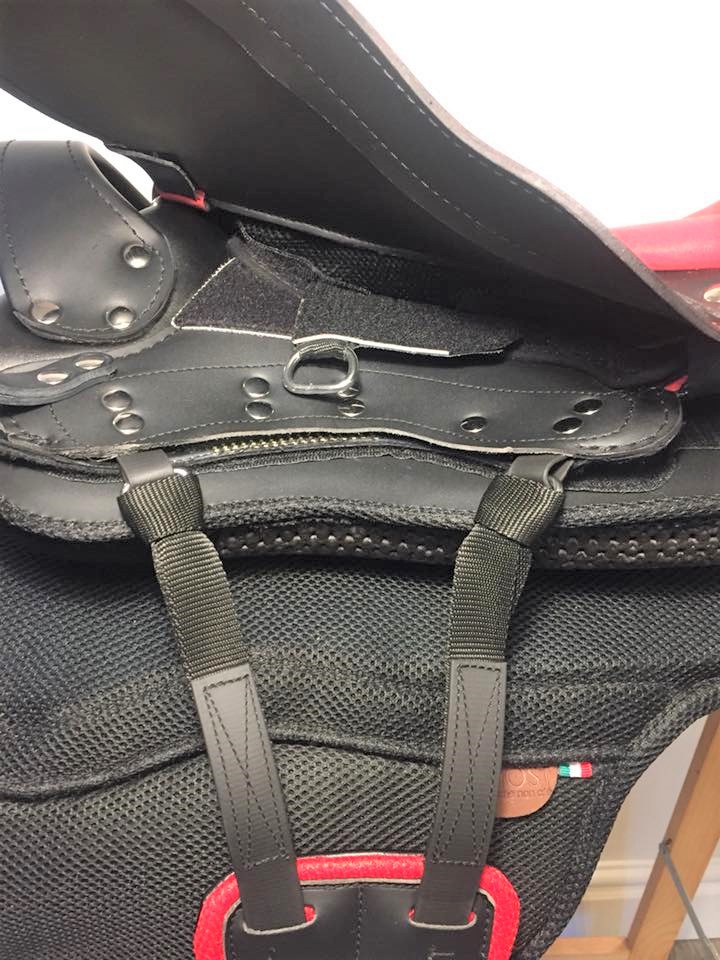
The billet protector with the rigging can confuse things sometimes. I don't use the protector with a long flap saddle because you might not pay close enough attention to your billet to girth groove alignment and leave the saddle set up with a centerfire situation which rarely works. Ignore, or remove temporarily, the protector and align each billet separately toward the girth groove and the girth buckles. Sometimes this means you might cross the billets, often it means the front billet has a shorter path to the girth than the rear billet so you'll tighten it one hole more. The pic below shows the protector putting the billets, and therefore girth, in a less than ideal position so we're not taking advantage of the natural girth groove, leaving the saddle with more ability to move forward/back. In some cases, the saddle would then move forward and slip side to side or easily move forward/back, or worst case, pull the saddle too far forward. People usually notice this more clearly with the visibility from a short flap, so for that reason, I don't even send the billet protector with a long flap saddle because it doesn't add anything, and with the setup below, it's not needed with the long flap pad. The red lines show how I would change the alignment for this particular horse.